Description
Sewing your ribbons – step by step instructions:
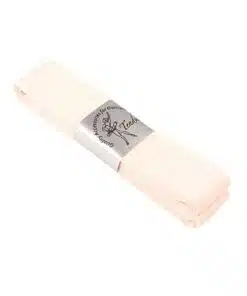
- The ribbon needs to be cut in half and then in half again so there are four equal pieces, one for each side of the shoe.
- To attach the ribbons at the correct angle, fold the back of the shoe forward and down then mark each side of the shoe on the cotton lining in the angle made by the fold.
- Place the ribbon at the marked position and pin in place. It is recommended to position the ribbon forward at a 45° angle to hold the shoe on more securely when the ribbons are tied. For extra support, the ribbon can be sewn further down the shoe closer to the inner sole at the same position.
- Fold and tuck in the raw end of the ribbon to prevent it from fraying whilst sewing.
- Sew the ribbon onto the shoe through the cotton lining but not through the satin.
- Do not sew the ribbon through the middle of the binding as the drawstring cannot be adjusted and the binding may pull away from the satin. Make sure that you are only sewing through the top fibres of the binding as shown. The drawstring inside the binding of the pointe shoe is to adjust the tension of the width of the upper. It should be adjusted while on the foot and tied in a double knot with the excess drawstring tucked into the shoe and not be visible. Do not cut the excess of the drawstring off, as should the knot come undone the ends would be lost inside the binding.
Sewing instructions can be seen in the following video.
Additional information
| Color |
|---|
Reviews (0)
Only logged in customers who have purchased this product may leave a review.
You may also like…
22.73€
This product has multiple variants. The options may be chosen on the product page
25.41€
This product has multiple variants. The options may be chosen on the product page
Related products
3.10€
This product has multiple variants. The options may be chosen on the product page
4.96€
This product has multiple variants. The options may be chosen on the product page
Sale!


Reviews
There are no reviews yet.